 Fridge Friend Recipes
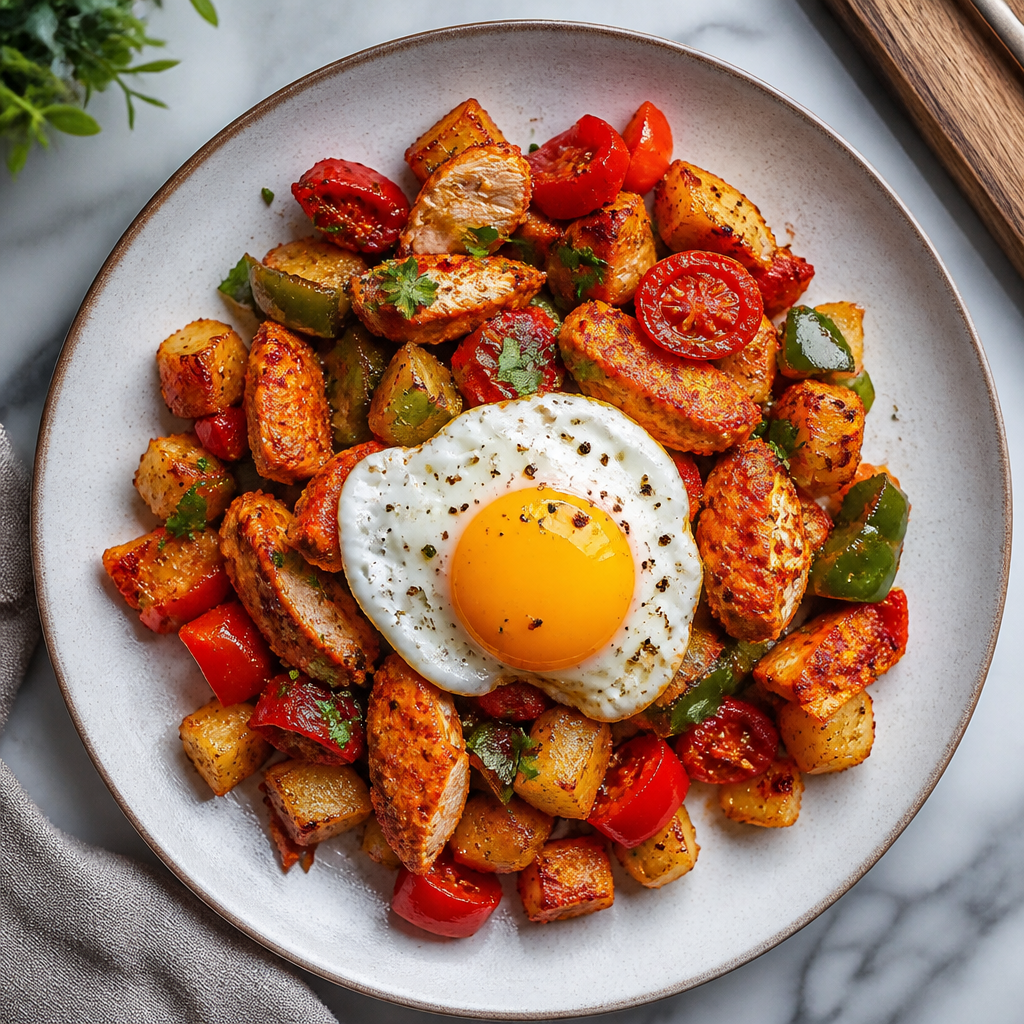
Peri Peri Chicken Breakfast Hash with Eggs recipe
A rustic breakfast hash with crispy-edged peri peri chicken, peppers and tomatoes, topped with eggs. It is a bold, filling way to start the day or a simple all-day brunch.
25 min · Easy · British Jump to method
Ingredients
- 2 breasts Peri Peri Chicken Breast
- 1 Red Pepper
- 1 Green Pepper
- 3 Tomato
- 4 Eggs
| Nutrition | Per servingEstimated |
|---|---|
| Calories | 310 kcal |
| Protein | 36 g |
| Carbohydrates | 11 g |
| Fat | 14 g |
| Saturated fat | 4 g |
| Fibre | 4.5 g |
| Sugar | 7 g |
| Sodium | 480 mg |
Why this works
A high-protein, relatively low-carb breakfast with moderate fat, suitable for a filling meal, though sodium may be elevated depending on the peri peri seasoning.
High-quality protein. Chicken and eggs provide a substantial amount of complete protein to support satiety and muscle maintenance.
Vitamin C and antioxidants. Red and green peppers plus tomatoes contribute vitamin C, carotenoids and other antioxidants.
Sodium watch. Peri peri chicken can be relatively salty, so the sodium level may be moderate to high compared with a homemade unseasoned version.
Method
- Dice the red pepper, green pepper and tomatoes.
Aim for roughly even dice so the peppers and tomatoes soften at a similar rate; if the tomato pieces are too small, they can turn watery and lose their shape before the peppers are ready.
- Cut the peri peri chicken breast into small cubes.
Keep the cubes fairly small and similar in size so they reheat evenly and brown more quickly in the pan; larger chunks are more likely to dry out on the outside before the centre is warm.
- Cook the chicken in a frying pan over medium heat until hot and lightly browned.
Let the pan get properly hot before the chicken goes in, then leave it undisturbed for a minute or so to encourage colour; if it is crowded, the chicken will steam rather than brown.
- Add the peppers and tomatoes and cook for 6-7 minutes until softened.
If the mixture starts releasing a lot of liquid, turn the heat up slightly and stir only occasionally so the vegetables soften without becoming mushy or breaking down completely.
- Make 2 spaces in the pan and crack in the eggs.
Use the back of a spoon to create the wells and make them deep enough to hold the eggs in place; this stops the whites from spreading through the hash.
- Cook until the egg whites are set and the yolks are cooked to your liking.
For runny yolks, remove the pan as soon as the whites are opaque and just set at the edges, because carryover heat will keep cooking the eggs after you switch off the hob.
- Serve straight from the pan.
Slide the hash and eggs out with a spatula rather than stirring them through, so the yolks stay intact and the pan juices remain glossy and vibrant.
More recipes using the same ingredients

Creamy Yoghurt Chicken Curry
40 min · Tender chicken simmered in a gently spiced yoghurt sauce for a comforting, tangy curry. Serve with rice or flatbreads for a satisfying dinner.
Barbecue Chicken Thighs
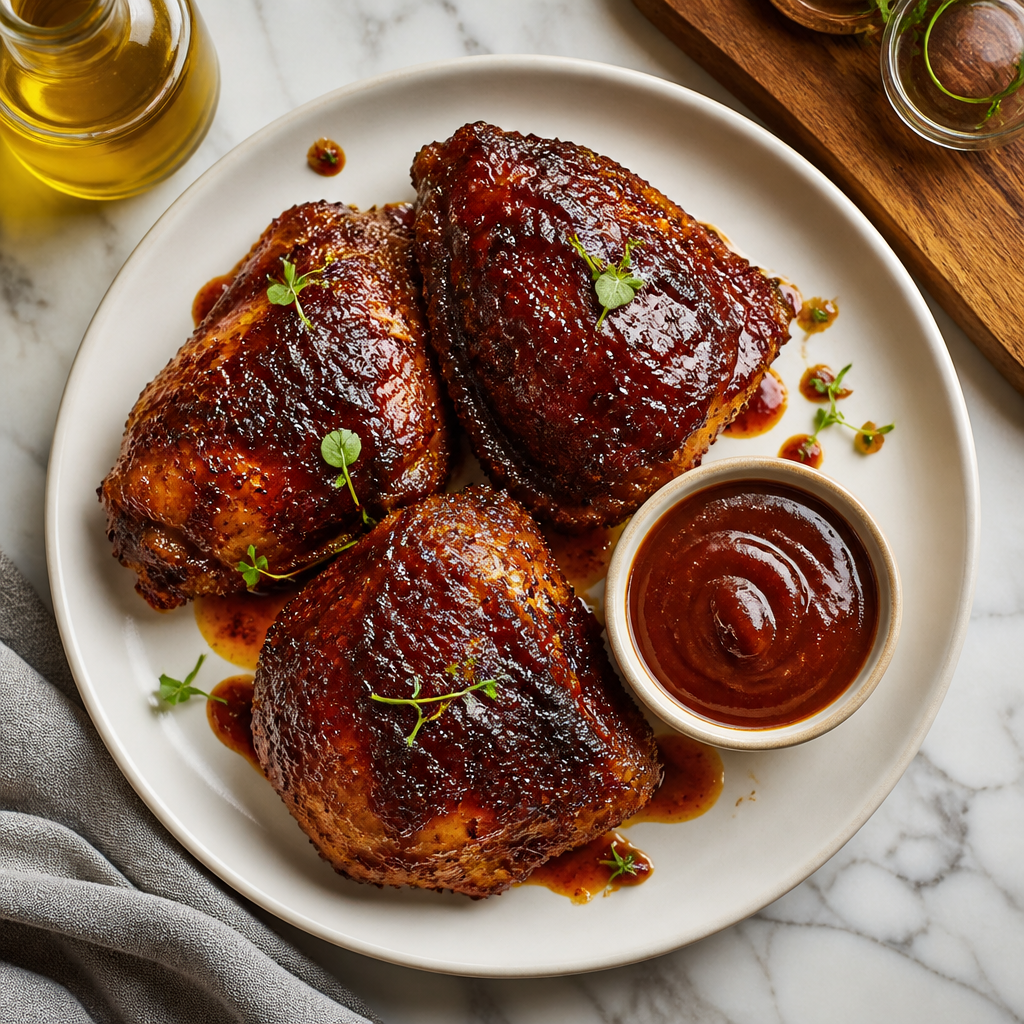
40 min · Sticky, smoky barbecue chicken thighs cooked in the oven or on a hot grill, with a simple British home-style glaze.

Boxing Day Turkey Curry
40 min · A comforting Boxing Day curry made with leftover roast turkey, gently spiced with tomatoes, onions and coconut milk.
Butter and Herb Roasted Chicken
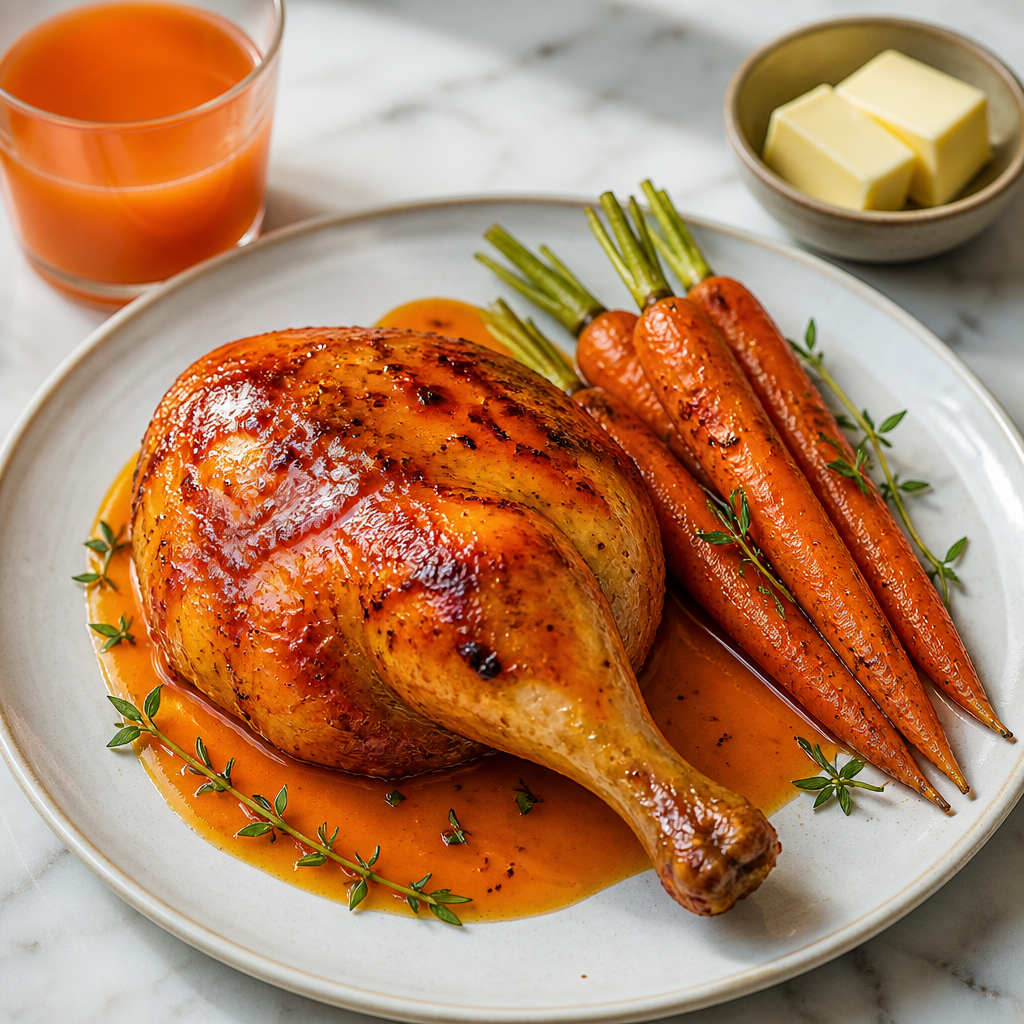
90 min · Succulent roast chicken with a crisp, golden skin and rich butter flavour. Simple seasoning and a buttery finish keep the meat juicy and full of flavour.
Cheesy Baked Chicken with Yoghurt
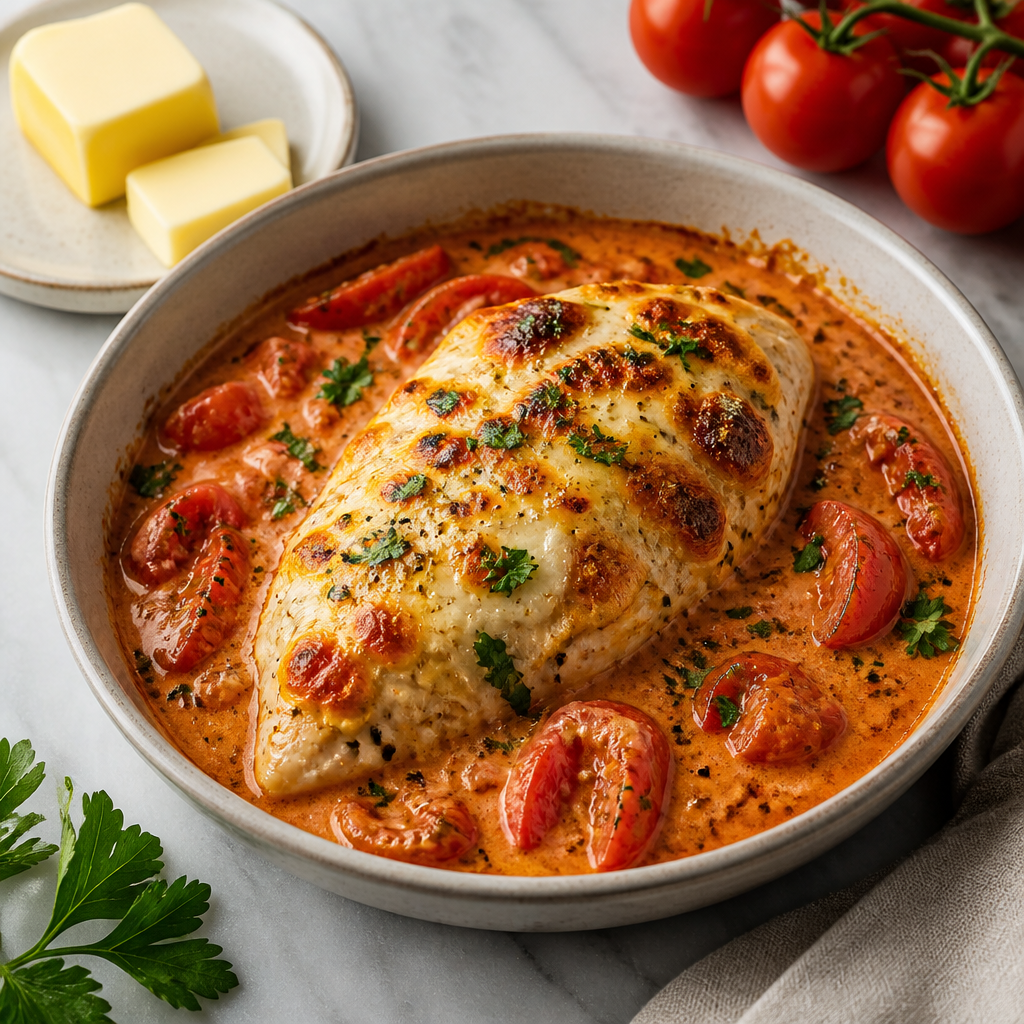
45 min · Tender chicken is coated in a tangy yoghurt marinade, then baked under a golden cheese topping with a buttery finish. It is a simple, comforting chicken bake with a creamy, savoury flavour.
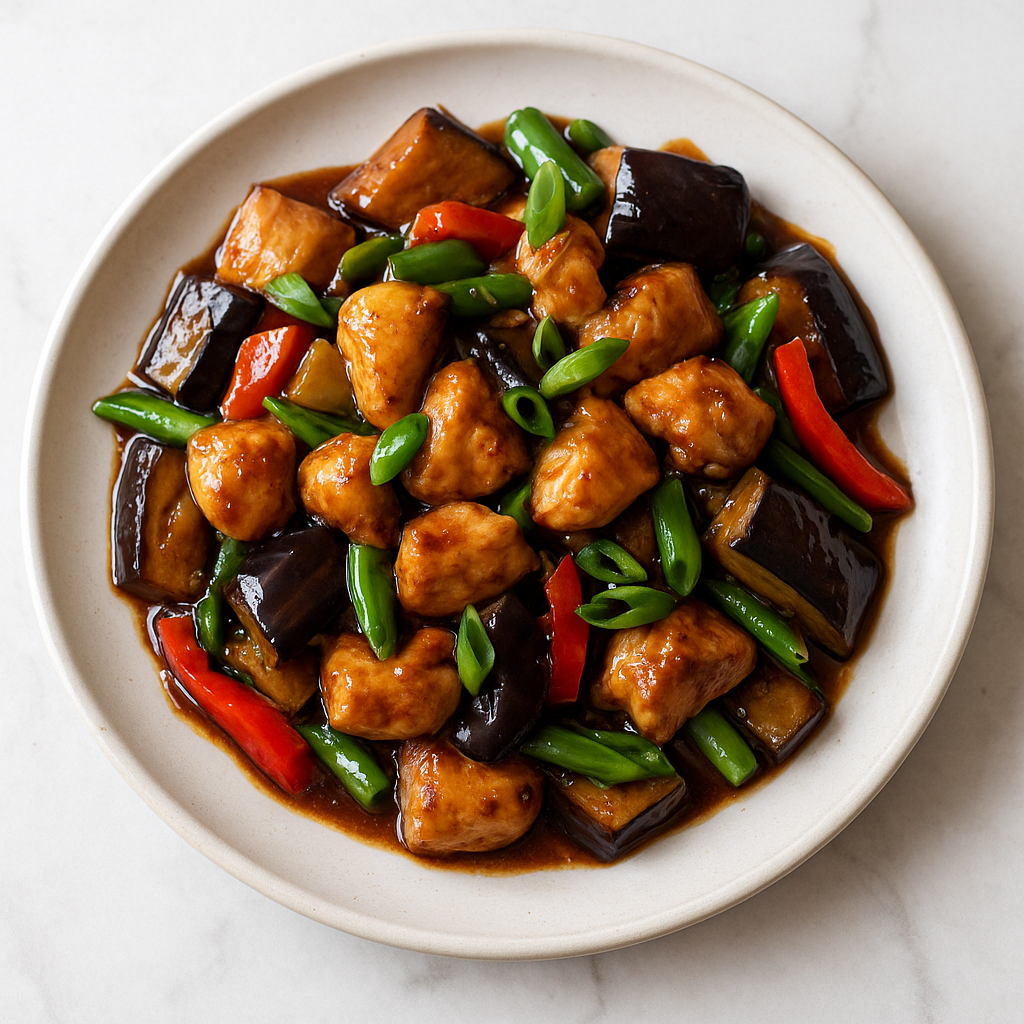
Chicken and Aubergine Stir-Fry with Soy-Orange Glaze
25 min · Tender chicken and soft aubergine are tossed with peppers in a glossy soy-orange glaze, finished with garlic and onion for a vibrant, savoury-sweet stir-fry. It’s quick to make and ideal served with rice or noodles.
Other Chicken Recipes
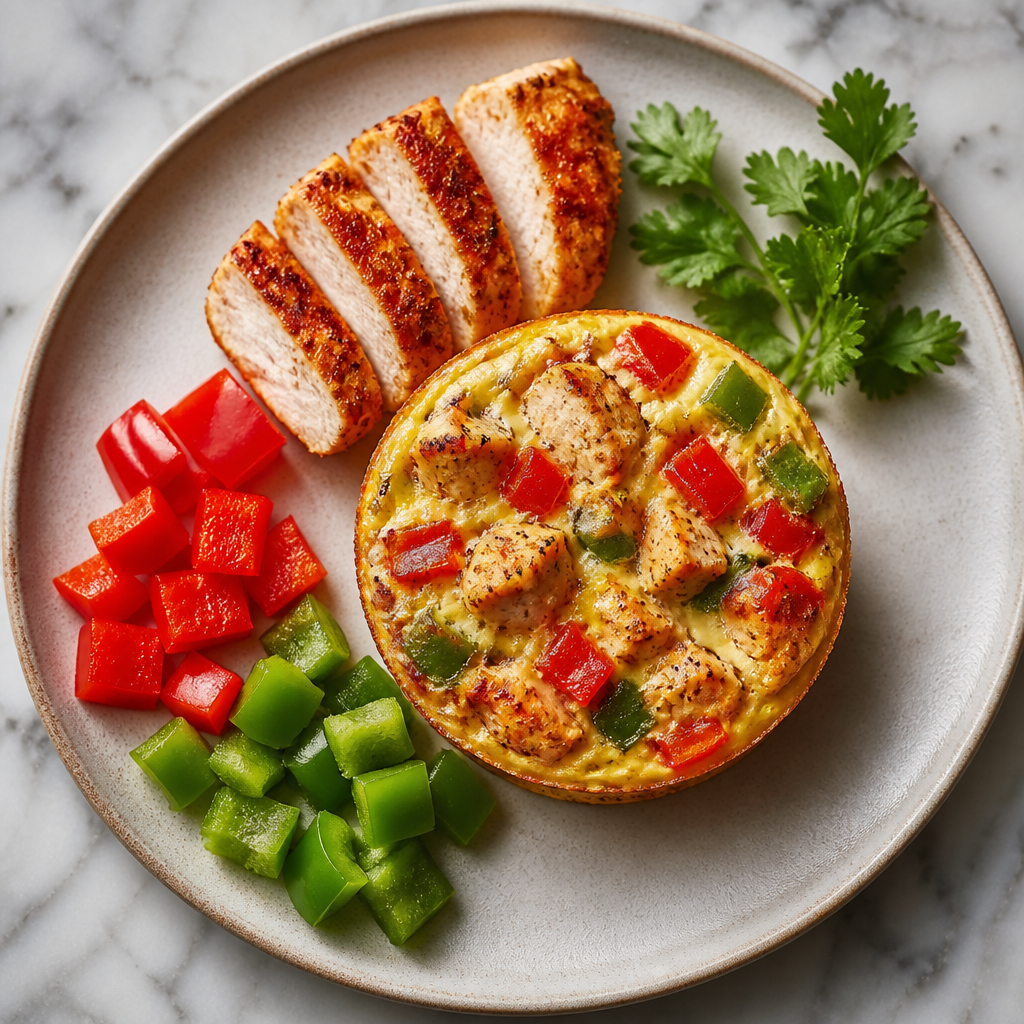
Peri Peri Chicken and Pepper Egg Muffins
30 min · Baked egg muffins studded with peri peri chicken, peppers and tomato make a handy make-ahead snack. They are savoury, portable and packed with protein.
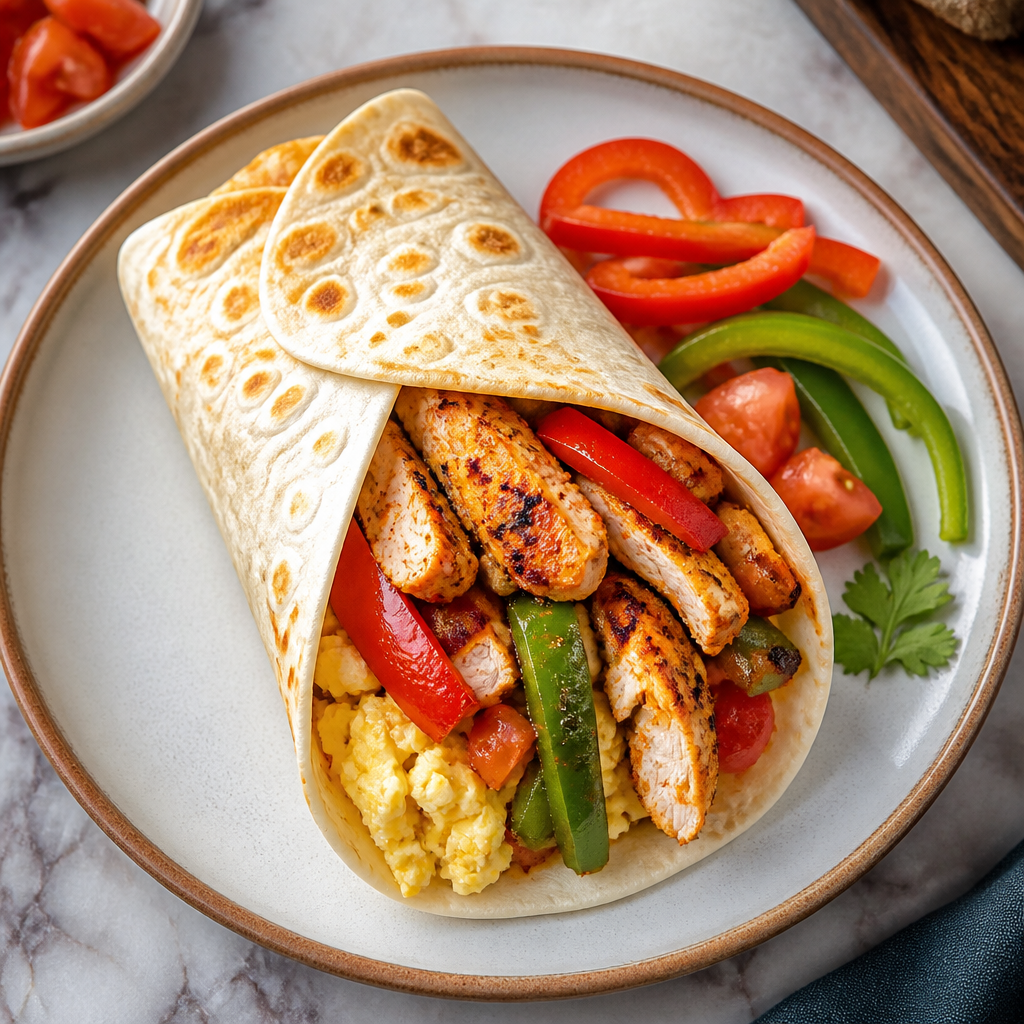
Peri Peri Chicken and Pepper Egg Wraps
20 min · Soft egg-filled wraps are packed with peri peri chicken, peppers and tomatoes for a satisfying handheld meal. They are ideal for a quick lunch or casual supper.
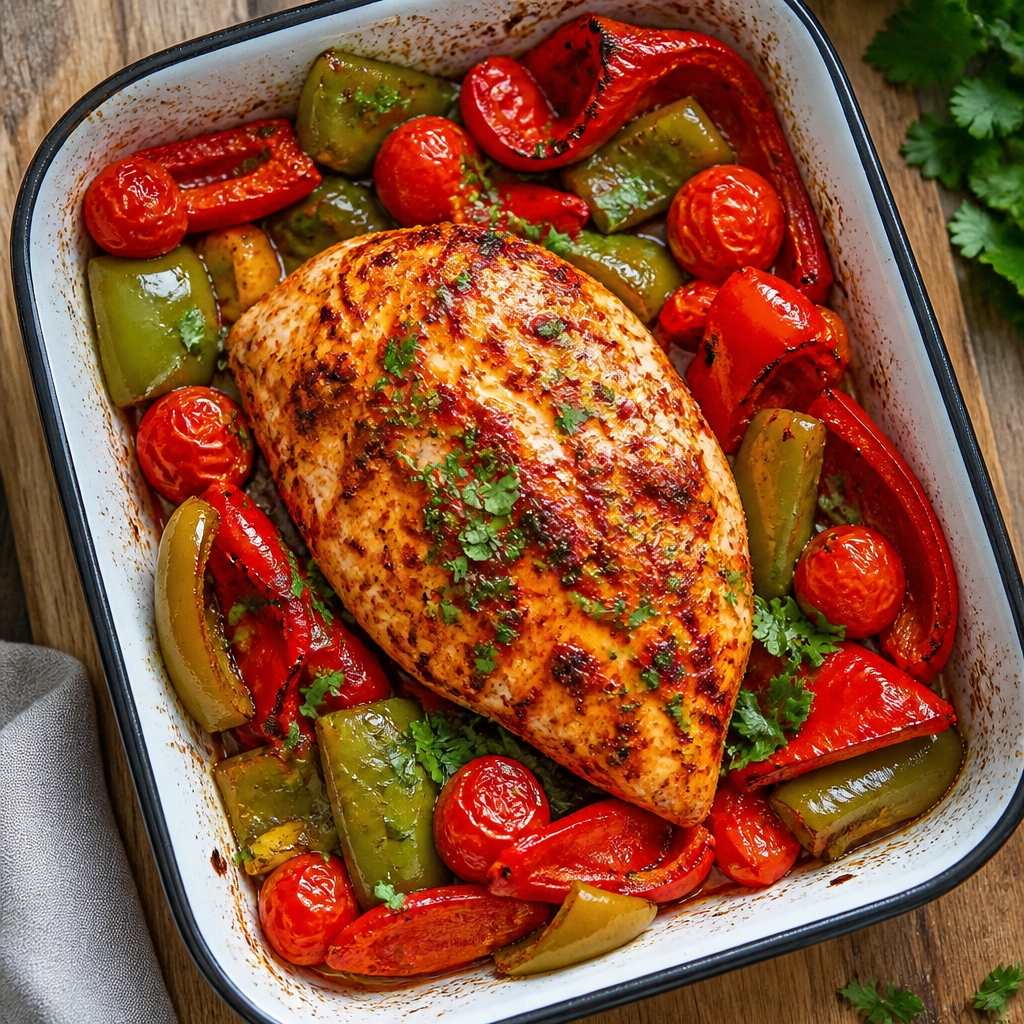
Peri Peri Chicken and Pepper Traybake
35 min · Juicy peri peri chicken breast is roasted with sweet red and green peppers and tomatoes for a colourful, punchy traybake. Finished with gently baked eggs, it makes a vibrant one-pan supper.
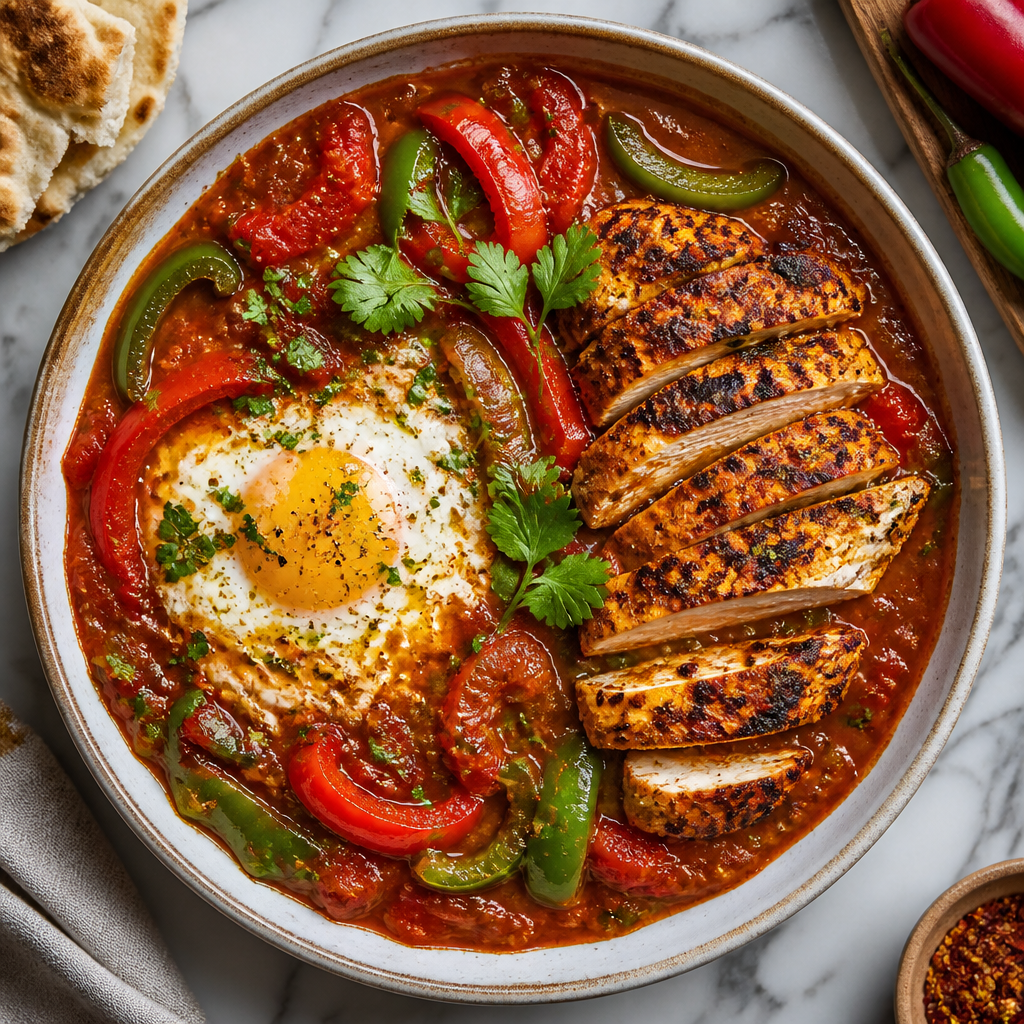
Peri Peri Chicken and Tomato Shakshuka
30 min · This fiery twist on shakshuka pairs peri peri chicken with peppers and tomatoes in a rich, savoury sauce. Baked with eggs on top, it is ideal for a hearty brunch or easy dinner.
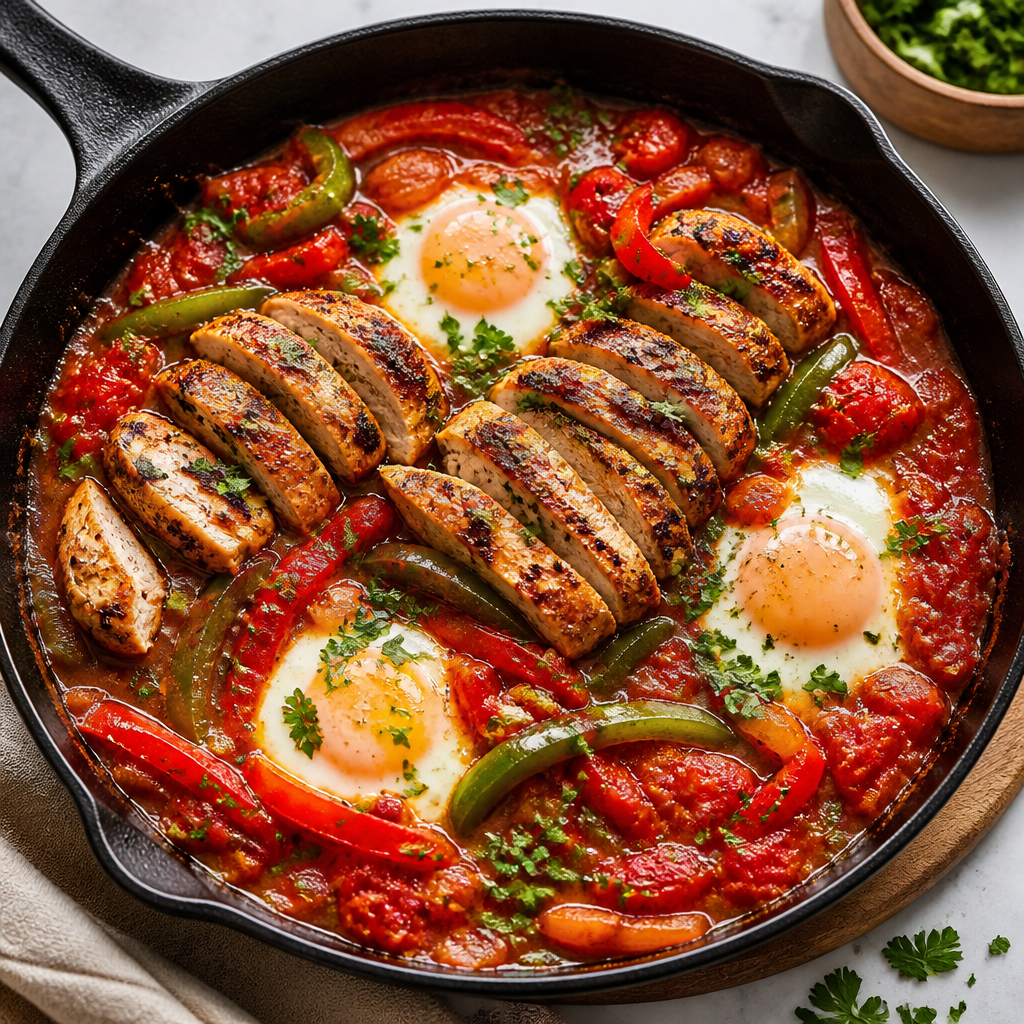
Peri Peri Chicken Pepper and Tomato Skillet
30 min · This bright skillet supper combines spicy chicken with peppers and tomatoes, finished with softly baked eggs. It is hearty, easy and perfect for sharing.
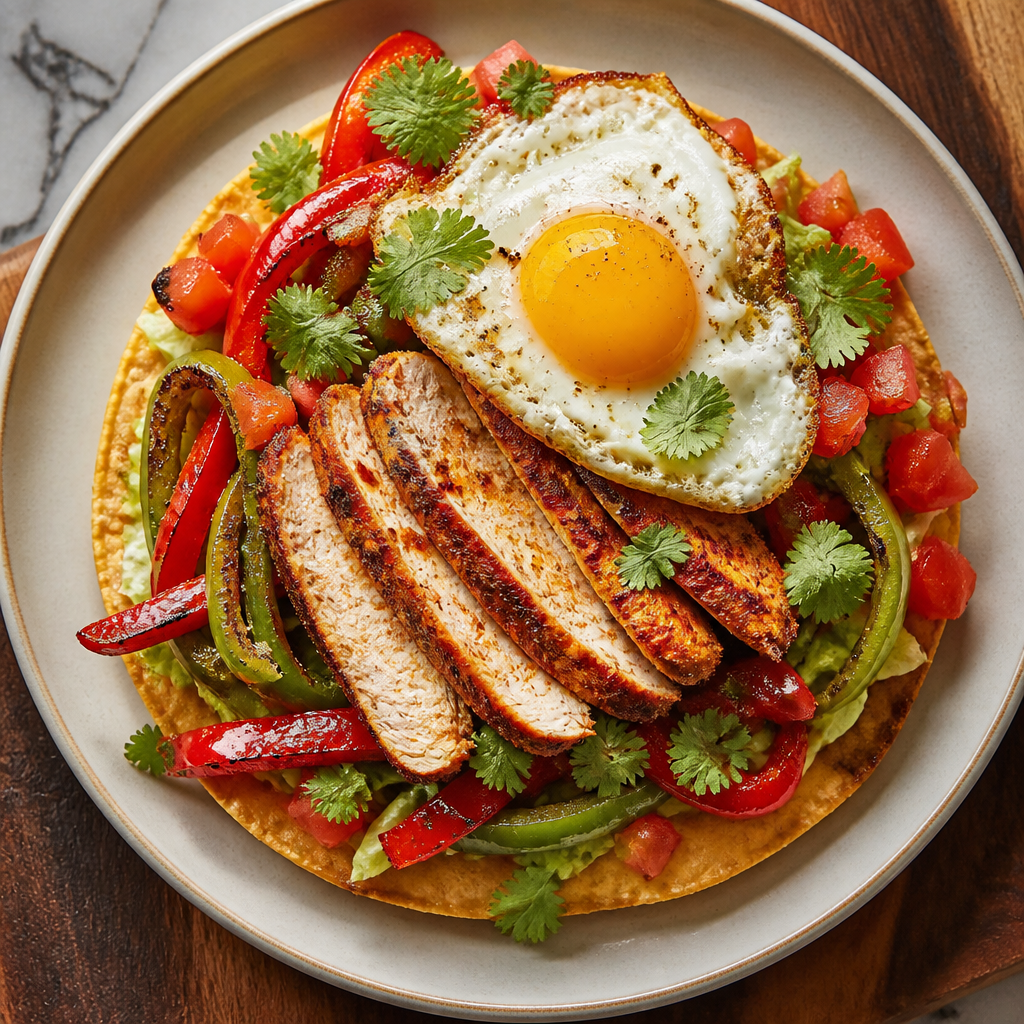
Peri Peri Chicken Pepper Tostada Stack
25 min · Crisp, layered tostadas are topped with smoky peri peri chicken, sweet peppers, tomatoes and a fried egg. The result is a colourful, lively plate with plenty of texture.
View category
Discover recipes from your fridge contents
Use the FridgeFriend app to recognise the ingredients already in your fridge and help you discover recipes.

